

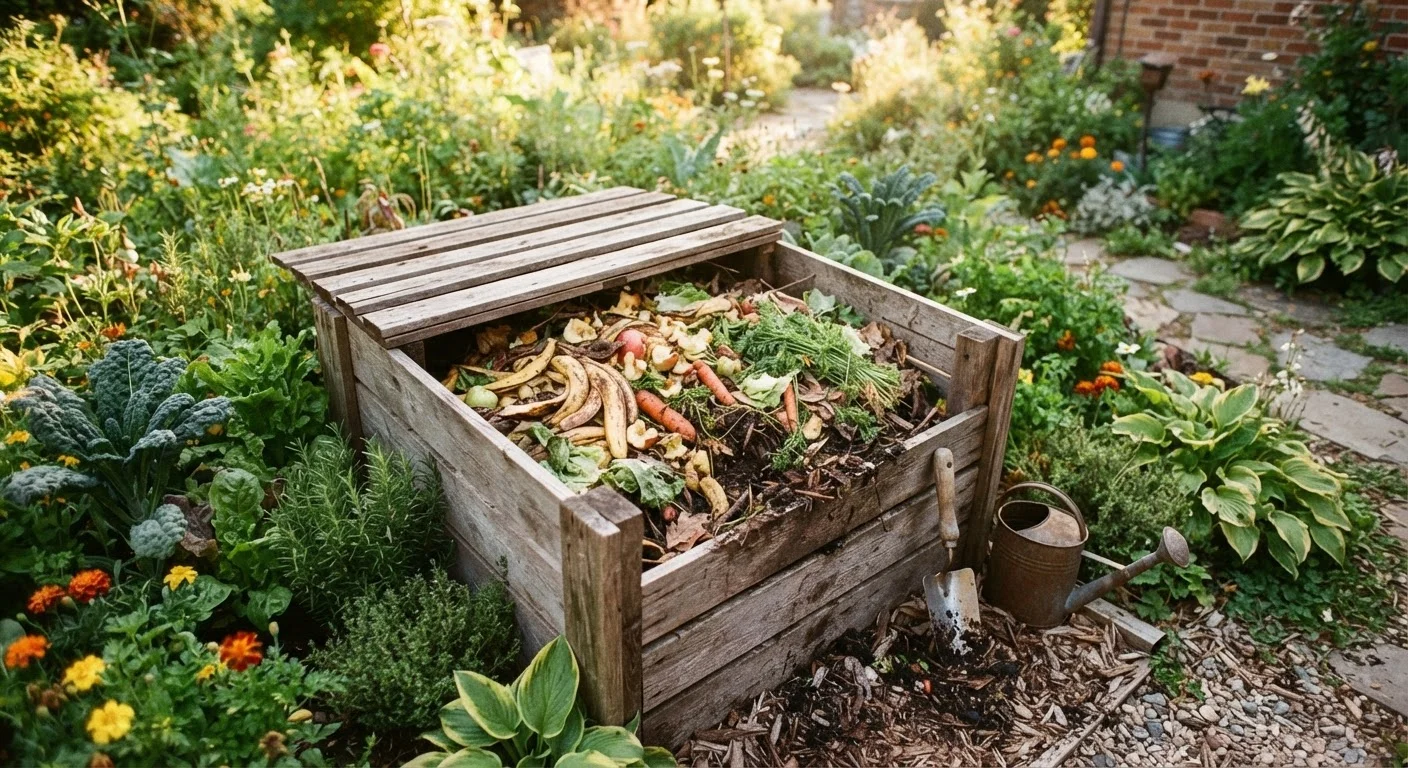
Why Composting Is Worth Your Time
Composting is one of the most rewarding habits a homeowner can develop. Instead of sending vegetable peels, coffee grounds, and grass clippings to the landfill, you redirect them into a natural decomposition process that produces finished compost - a dark, crumbly material sometimes called humus. Worked into garden beds, it improves soil structure, feeds beneficial microorganisms, and helps both sandy and clay-heavy soils retain the right amount of moisture.
The financial upside is real too: a steady supply of homemade compost reduces how much you spend on bagged soil amendments each season. If you're curious how compost compares to other soil inputs, our guide to soil amendments walks through when different products are actually needed.
You don't need a large yard. A single bin tucked in a corner - even a simple wire cylinder - is enough to handle the waste from a typical household and produce usable compost within a few months.
What you will need
What to Add (and What to Leave Out)
Composting is fundamentally about balance. Decomposition is driven by microbes that need both carbon (from 'browns') and nitrogen (from 'greens') to thrive. A general guideline is roughly 3 parts browns to 1 part greens by volume, though small adjustments are normal as you learn your pile's behavior.
Browns (carbon-rich)
- Dry leaves and straw
- Cardboard and newspaper (torn into pieces, no glossy coatings)
- Wood chips or sawdust from untreated wood
- Paper bags and paper towel rolls
Greens (nitrogen-rich)
- Fruit and vegetable scraps
- Coffee grounds and paper filters
- Tea bags (remove staples)
- Fresh grass clippings
- Plant trimmings
Never Compost These Materials
Meat, fish, bones, dairy products, and oily or greasy foods should never go into a backyard compost pile - they attract rodents and create persistent odors. Also avoid composting diseased plants, pet waste, treated wood, or plants that have gone to seed, as these can spread pathogens or unwanted seedlings throughout your garden.
Keeping your pile balanced and free of problem materials is the single biggest factor in avoiding odors and attracting pests.
Setting Up and Maintaining Your Pile
Choose a spot with partial shade that's convenient but not directly against your home's foundation. Good airflow matters - avoid low-lying spots where water pools. Your bin can be a purchased plastic unit, a DIY pallet enclosure, or a simple wire hoop at least 3 feet in diameter; that minimum size helps the pile retain enough heat to decompose efficiently.
Choose and position your compost bin
Place your bin or pile on bare soil - not concrete - so worms and beneficial organisms can enter from the ground. Ensure the location gets some sun but isn't baking hot all day, which can dry out the pile too quickly. Leave a few feet of clearance around it for turning access.
Build your base layer
Start with a 4-6 inch layer of coarse browns - wood chips, straw, or shredded cardboard work well. This base layer promotes airflow from underneath, which keeps the pile from becoming waterlogged and smelly right from the start.
Layer greens and browns as you add material
Each time you add kitchen scraps (greens), cover them with a roughly equal or larger volume of browns. This layering isn't strict - you can mix as you go - but maintaining the approximate 3:1 carbon-to-nitrogen ratio prevents odors and speeds decomposition.
Maintain moisture levels
Your pile should feel like a wrung-out sponge - damp but not dripping. If it's too dry, decomposition stalls; if it's soggy, it will smell. In dry climates or during summer, you may need to water the pile occasionally. In wet seasons, a simple tarp or lid can prevent waterlogging.
Turn the pile regularly
Use a garden fork or compost turning tool to mix the pile every 1-2 weeks. Turning introduces oxygen, which feeds the aerobic bacteria responsible for fast, odor-free decomposition. Move material from the outer edges into the center, where heat is most intense. A consistently turned pile can produce finished compost in as little as 6-8 weeks during warm months.
Once your compost darkens, smells earthy (not sour or ammonia-like), and the original materials are no longer recognizable, it's ready to use. Spread 1-3 inches over garden beds and work it lightly into the top few inches of soil. It pairs especially well with raised bed gardens, where soil quality directly controls your results. If you're growing food crops, see our vegetable garden starter guide for advice on working amendments into planting areas.
Use Finished Compost Before Spring Planting
Applying compost in early spring - before you plant - gives it time to integrate into the soil. Check our spring garden readiness checklist to time your compost application alongside other seasonal prep tasks.
The content provided on our blog site traverses numerous categories, offering readers valuable and practical information. Readers can use the editorial team’s research and data to gain more insights into their topics of interest. However, they are requested not to treat the articles as conclusive. The website team cannot be held responsible for differences in data or inaccuracies found across other platforms. Please also note that the site might also miss out on various schemes and offers available that the readers may find more beneficial than the ones we cover.