

Why Weatherproofing Matters Before Winter Hits
Even small gaps around doors and windows allow warm air to escape and cold air to seep in, forcing your heating system to work harder than necessary. According to the U.S. Department of Energy, drafts can waste a significant portion of a home's heating energy - making weatherproofing one of the highest-return maintenance tasks you can complete before temperatures drop.
The good news: most of the work requires only basic materials and a free afternoon. This guide is part of a broader approach to year-round upkeep - see our seasonal home maintenance guide for a full quarterly checklist that puts this task in context.
What you will need
Tools and Materials You'll Need
Before you begin, gather everything in one place so the job goes smoothly. The exact materials depend on what you find during your inspection, but the list below covers the most common scenarios.
Caulk gun and silicone or acrylic-latex caulk
Seals stationary gaps around fixed window and door frames where surfaces don't move.
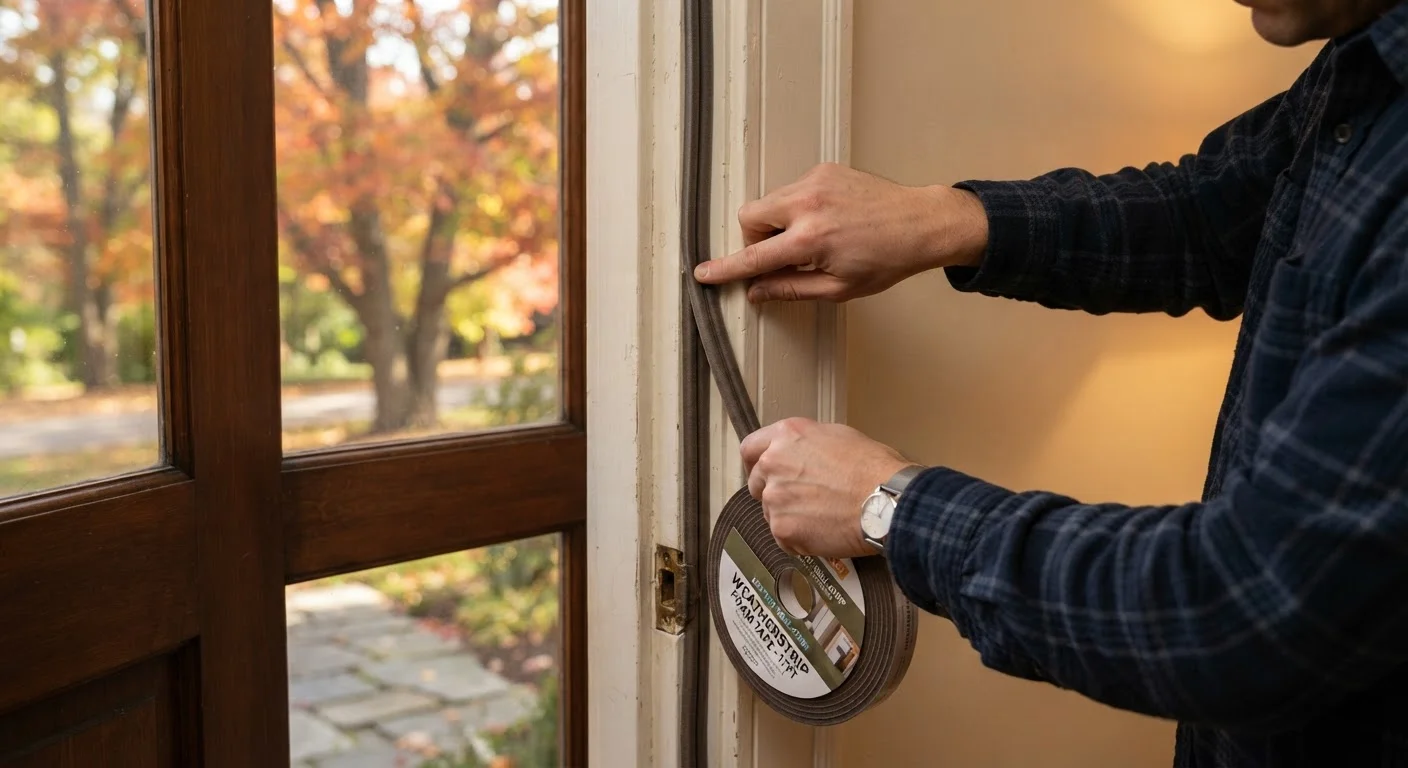
Foam weatherstripping tape
Compressible seal applied to door and window frames to block air between two closing surfaces.
V-strip (tension seal) weatherstripping
Fits inside door-stop grooves and window channels for a durable, low-profile seal.
Door sweep
Mounts along the bottom of an exterior door to close the gap between the door and threshold.
Rope caulk
A temporary, removable option pressed into window gaps by hand for seasonal use.
Utility knife and scissors
Cuts weatherstripping, removes old caulk, and trims materials to fit.
Candle or incense stick
Used to detect air movement near frames and identify active draft locations.
Having the right product for the right gap is important - using caulk where a door sweep is needed, for example, won't solve the problem. If you're unsure whether a gap is structural or cosmetic, consult our home maintenance myths article to avoid common missteps.
Step-by-Step: Sealing Doors and Windows
Work through these steps in order. Start with a thorough inspection before reaching for any materials - treating gaps you haven't confirmed wastes both time and supplies.
Locate Air Leaks With a Draft Test
On a cold, windy day, hold a lit candle or incense stick about an inch from the perimeter of each door and window frame. Watch for the flame or smoke to flicker - that movement indicates air infiltration. Mark any problem areas with painter's tape so you don't lose track of them during repairs.
Remove Old or Damaged Weatherstripping and Caulk
Peel away any existing weatherstripping that is cracked, compressed flat, or pulling away from the surface. Use a utility knife or putty knife to scrape off deteriorated caulk from window frames and door casings. Clean the surfaces with a damp cloth and allow them to dry fully before applying anything new - adhesives and caulk won't bond properly to dirty or wet surfaces.
Apply Weatherstripping to Door and Window Frames
Cut foam or V-strip weatherstripping to the measured length of each side of the door or window frame. For foam tape, peel the backing and press firmly into the door stop (the raised ridge the door closes against). For V-strip, tuck the strip into the channel with the open end of the V facing outward, and nail or press it in place per the manufacturer's guidance. Close the door or window to test - you should feel light resistance, indicating a proper seal.
Caulk Stationary Gaps Around Fixed Frames
Load your caulk gun and cut the nozzle at a 45-degree angle for a clean bead. Apply a continuous line of caulk along any gap between the window or door frame and the surrounding wall or trim. Smooth the bead with a damp fingertip or caulk tool. Allow it to cure according to the product label - most acrylic-latex caulks dry to the touch within an hour, but full cure takes longer.
Install a Door Sweep on Exterior Doors
Check the gap at the bottom of each exterior door by sliding a piece of paper underneath - if it slides freely with the door closed, a sweep is needed. Hold the sweep against the interior bottom edge of the door, mark screw positions with a pencil, and drive the screws in. The sweep's brush or fin should make light contact with the threshold without dragging heavily, which can cause premature wear.
Re-Test for Drafts and Adjust
Once all materials have had time to set, repeat your candle or incense test around every treated door and window. If you still detect movement, check for gaps at the corners of frames - these are easy spots to miss during the initial application. Add a small dab of caulk or an extra strip of weatherstripping as needed. A final walk-through ensures nothing was overlooked.
Choosing the Right Sealing Material
Not every gap calls for the same fix. Use this breakdown to match the problem to the product:
- Foam or felt weatherstripping: Best for door and window frames where two surfaces compress against each other. Foam compresses well but may wear faster; felt is softer but less moisture-resistant.
- V-strip (tension seal) weatherstripping: Fits inside door-stop grooves and along window channels. Durable and largely invisible once installed.
- Door sweeps: Attach to the bottom interior edge of exterior doors to seal the gap at the floor. Especially important for older doors that have settled or warped.
- Silicone or acrylic-latex caulk: Ideal for stationary gaps - around fixed window frames, between siding and trim, or where a frame meets a wall. Do not use on moving parts.
- Rope caulk: A temporary, removable option for sealing drafty windows through winter without permanent commitment. Press into gaps by hand; peel off in spring.
For a broader look at how sealing doors and windows fits into your home's overall thermal envelope, explore our home insulation guide.
Don't Overlook Interior Sources of Drafts
Gaps around door and window frames are the most visible culprits, but drafts also enter through electrical outlets on exterior walls, attic hatches, and mail slots. Once you've addressed the doors and windows, a quick survey of these secondary sources can further improve comfort. Foam gaskets for outlets are inexpensive and take seconds to install.
The content provided on our blog site traverses numerous categories, offering readers valuable and practical information. Readers can use the editorial team’s research and data to gain more insights into their topics of interest. However, they are requested not to treat the articles as conclusive. The website team cannot be held responsible for differences in data or inaccuracies found across other platforms. Please also note that the site might also miss out on various schemes and offers available that the readers may find more beneficial than the ones we cover.